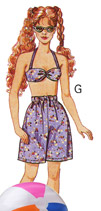
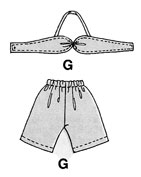
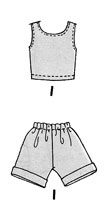
Here are two tops and shorts in two versions that are easy to sew. They just take a little time to get the finished edges right. Version G is the halter top, version I is the wrap top:
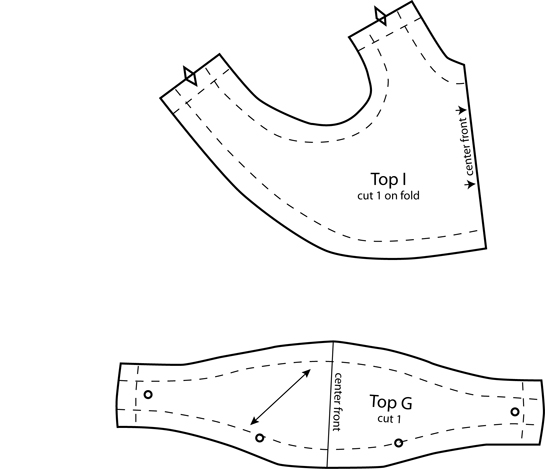
Here are the patterns for both tops in a jpg file:
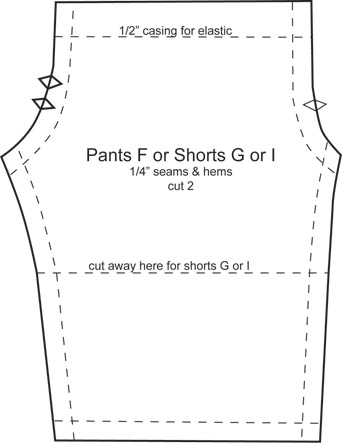
And the pattern for the Shorts, just cut on the indicated line. This is the same pattern as for the Barbie Capris that are shown with a vest.
Instructions for saving and printing jpg or pdf files are here.
Download pdf file of Barbie Tops and Barbie Shorts
Instructions for Sewing the Halter Top
1. Press under 1/4″ on upper and lower edge of TOP. Stitch close to fold. Cut raw edges close to stitiching:
2. Press under 1/4 ” on ends of TOP. Stitch in place:
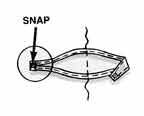
3. Sew socket section of snap to OUTSIDE of RIGHT end of top. Sew ball section of snap to INSIDE of LEFT end of TOP. Using a double thread in your needle, hand-gather along center front. DO NOT cut thread:
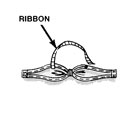
4. Pull up thread tightly and wrap thread around TOP. Fasten end. Cut 4″ length of ribbon. On INSIDE, sew ends of ribbon to circles:
Instructions for Sewing the Wrap Top
*Note: These instructions are directly from the pattern. A reader sent me a message that this top did not fit as per the instructions and she had to make adjustments so that it would. I had not tried sewing the pattern for this top (only the previous halter which fits just fine). The problem is that the top will not fit over Barbie’s head with the shoulder seams sewn as in figure 2 below. In order for it to fit you must extend the front shoulder edges about 1/4″ and turn under the shoulder edges and add snaps to the shoulders (or velcro). Too bad because the top looks so cute in the picture and seems easy to make.
1. Finish UN-NOTCHED edges of TOP:
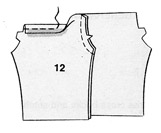
2. Criss-cross backs and stitch shoulder seams: See *Note above.
Instructions for Sewing the Shorts
1. Stitch center front seam of PANTS. For casing, turn 1/2″ to INSIDE on upper edge. Stitch 1/4″ from fold:
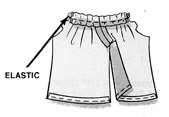
2. Insert a 3″ length of elastic thru casing having ends even. Stitch across ends. Finish Lower edge of pants:
3. Stitch center back seam. Stitch front to back at inseam, matching center seams:







Really Cute!