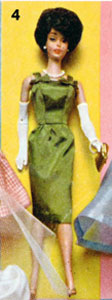
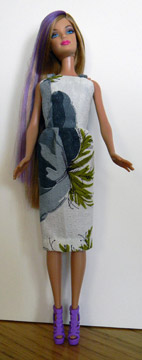
This is a great fitting dress for Barbie. Her engagement party should be a success!
I made the Engagement Dress out of a really big floral print. My material is cotton. The pattern maker made theirs out of green taffeta.
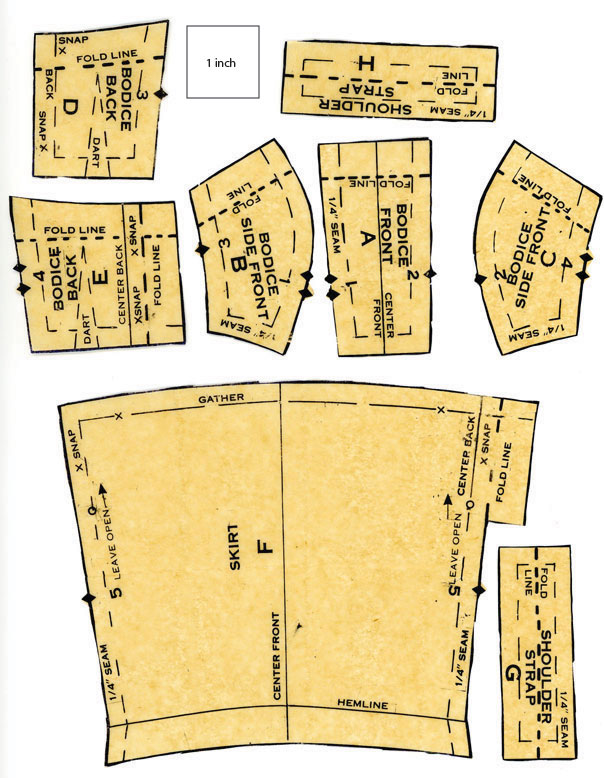
The pattern will print on one page:
Instructions for saving and printing jpg or pdf files are here.
Pdf file of Barbie’s Engagement Dress
Instructions for Sewing Barbie’s Engagement Dress
1. With RIGHT SIDES TOGETHER join FRONT BODICE pieces matching notches:
2. BACK BODICE sew darts by hand or machine:
3. Join front and back bodice pieces by sewing the side seams:
4. Press seams open, press darts towards center back:
SKIRT
5. Make two rows of machine basting stitches between X’s:
JOIN BODICE TO SKIRT
6. With right sides together, and working from the skirt side, pin skirt to bodice, match and pin together the center back markings, placing dots in skirt at darts in bodice back, keeping cut back opening edges even.
Pull gathering threads gently, pinning them in even folds around the skirt. Tack the loose threads into place securely. Stitch from the gathered side, slowly adjusting gathers as you sew:
7. Sew the center back seam, with right sides together, matching notch. Leave open above the notch. Press both center back seam allowances to the LEFT from hem to end of stitching:
8. BACK OPENING From the wrong side, the skirt fold on the right side is wider than the left. This provides an extension so there is something to attach the bottom snaps to.
Turn under the bodice top edge on the fold line and stitch it down by machine or by hand.
Turn up the hem and stitch it by machine (about 1/8″ from edge) or by hand with slip stitches:
9. Sew 3 small snaps at the back opening:
SHOULDER STRAPS
10. Fold each seam allowance to wrong side for the length of strap and press them both into place:
11. Stitch the pressed seamline edges together by machine or with small running stitches (by hand):
12. The straps will be tacked inside the bodice top, directly under the front seams and under the darts in the bodice back. The straps are longer than needed and so need to be adjusted to fit your doll.
Pin the finished end of each strap to the back. Align the end or the strap even with the hem on the bodice. Tack in place with about four stitches, one over the other. Try the dress on Barbie. Bring the straps to the front, slip the straps under the bodice to the correct place and pin them in place:
13. Take the dress off Barbie and stitch the straps in place. Cut off the extra length:
14. Press the dress and sew two bows to the bodice where the straps begin (optional):


